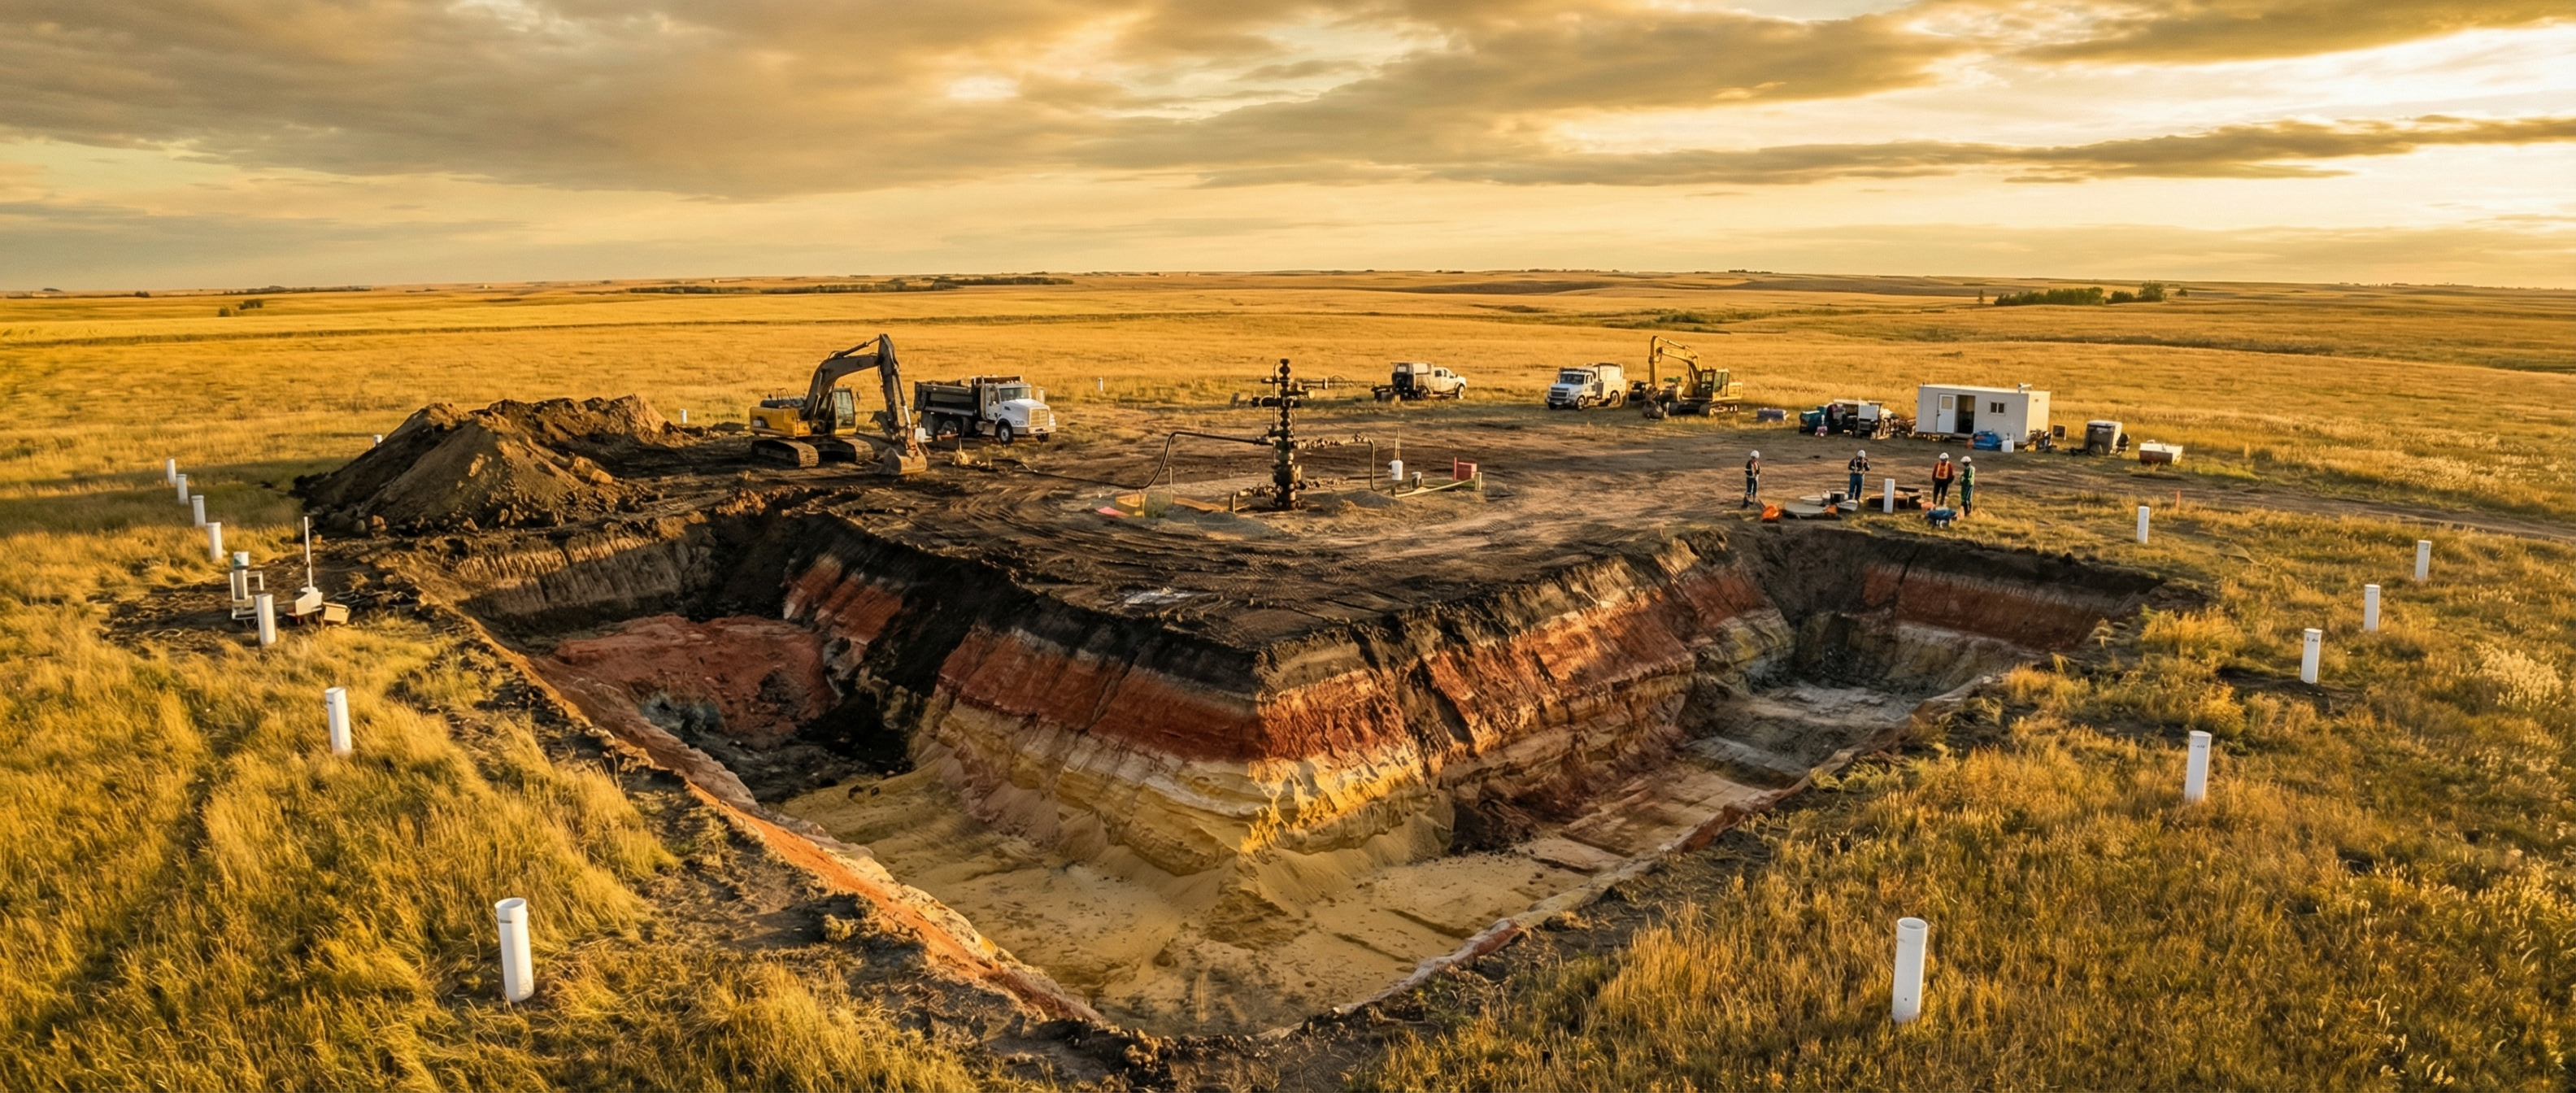
When a remediation project goes to tender, the single number that drives the bid is cubic metres of impacted soil. Get that number wrong on the high side and the client overpays; get it wrong on the low side and you're back at the site with a change order. The usual answer is “ask the GIS team to delineate the plume.” The faster answer, on most wellsite-scale projects, is to do it directly from the analytical data in Excel.
The Method, Conceptually
Excavation volume from contoured plume data is a sequence of four steps:
- Interpolate the analytical results across the site to produce a continuous concentration surface. For soil, this is done per depth interval; for groundwater, it's done across the horizontal plane.
- Contour the surface at the exceedance thresholds that matter — e.g. the AB Tier 1 value, the AB Tier 2A value, and any client-specific action levels.
- Measure the area enclosed by each contour band and multiply by the relevant depth interval to get a volume.
- Sum across depth intervals to get total impacted volume above each threshold.
That's it. There's no mystery to it. The mystery is in the consistency of the interpolation method, the handling of edge points (samples on or near the site boundary), and the audit defensibility of every assumption.
Why Manual Excel Falls Down Here
You can do this by hand. People do. The usual approach is to print a site map, sketch contours with a coloured pencil, planimeter the areas with a ruler-and-grid method, multiply by depth, and total it up. Failure modes:
- Inconsistency between consultants — two people will hand-contour the same data differently, sometimes giving 30–50% different volumes.
- No traceability — if a regulator asks, “how did you get 480 m³?”, the answer is “here's a PDF of the map I drew.”
- Brittleness — when one sample result gets updated, the whole exercise restarts.
- No comparison across thresholds — you compute the volume above Tier 1, but answering “what if we excavated only the Tier 2A exceedances?” means starting over.
The alternative used to be a GIS license and a GIS consultant. That's overkill for a typical 8–15-borehole wellsite, both in license cost and in turnaround.
What [GRYD]'s Volume Calculator Does
The volume calculator inside [GRYD] takes the analytical data you already have in the workbook and produces the volume table directly. The steps under the hood are:
- Read the borehole locations (X, Y) and sample results (analyte, depth, concentration) from the analytical sheet. The Conversion Analysis Spatial module handles coordinate conversion to a single project CRS.
- Interpolate per depth bin using inverse distance weighting or kriging (selectable). Each depth bin is interpolated independently because soil concentrations don't smear vertically.
- Contour at the active exceedance thresholds from your guideline pack. For an AB Tier 2A run, this is the Tier 2A value for the active land use / soil texture / pathway combination, plus background and Tier 1 as reference bands.
- Compute the area of each contour band using a stable polygon-area algorithm, then multiply by depth-bin thickness.
- Sum across bins and present the volume table by analyte, by contour band, with a per-band map preview.
The output is a defensible volume number with the full set of inputs preserved in the audit trail. If your interpolation method, the input data, or the guideline values change, you re-run and the new volume goes in as a new stamped entry — the prior volume is still there for comparison.
 The same site, the same data — but a defensible, reproducible volume number for every exceedance threshold instead of a hand-sketched estimate.
A Worked Example
A simplified wellsite with 9 boreholes, soil samples at three depth intervals (0–1 m, 1–3 m, 3–5 m), and one analyte of interest (F2 hydrocarbons). Goal: volume of impacted soil above the AB Tier 2A coarse-grained guideline.
Manual hand-contour
- Print site map & lab data
- Sketch contours per depth bin (3 maps)
- Planimeter areas with grid overlay
- Multiply by bin thickness, sum
- Document assumptions in a memo
Time: ~4 hours, defensibility: medium
[GRYD] Volume Calculator
- Open the sheet with analytical data
- Click “Compute Volumes”
- Confirm depth bins and CRS
- Select Tier 2A as the threshold band
- Review the audit-stamped output
Time: ~5 minutes, defensibility: high
Both methods can produce a defensible number. Only one of them produces it in five minutes with an audit-trail entry that survives a regulator's question.
Edge Cases Worth Knowing About
A few things that catch people out when they first start using a computational volume method:
Sample density
Interpolation is only as good as the underlying data. With 6 boreholes spread across a 2-hectare site, the interpolated surface has wide uncertainty bands. The output volume should be flagged as an estimate, not a quote. [GRYD] surfaces interpolation confidence directly in the volume table.
Boundary handling
If contamination might extend off-site but you have no off-site samples, the calculator can't see it. The output is a within-the-sampled-area volume, not a total plume volume. This usually wants a clear note in the report.
Depth-bin resolution
Coarser bins under-resolve thin impacted layers (a 0.5 m layer in a 5 m bin gets diluted into the average). Finer bins increase the interpolation noise. The sweet spot for most wellsites is 1–2 m bins in the active zone and coarser bins below.
Multiple analytes
Each analyte gets its own volume. The relevant excavation volume is usually the union — the area that exceeds any of the analytes, not the area that exceeds all of them. The calculator supports both union and intersection views.
When You Still Want a Dedicated GIS Workflow
This isn't a replacement for a full GIS workflow on every project. If you're doing 3D plume modelling, advanced geostatistics with variogram fitting, or integrating dozens of layers from remote sensing, you still want a dedicated GIS package and the analyst who runs it. What [GRYD] replaces is the “I just need a defensible m³ number for the bid” case — which is most of the volume calculations done in environmental consulting.
Get the Volume Number in 5 Minutes
Bring a real wellsite dataset to a demo and we'll walk through it together.
Book a Demo